Well, is building your own garage shelving actually worth the Saturday it’ll eat up? I’ve been swinging a hammer for twenty years, and my own garage is the lab. I’ve built wall systems out of plywood and anger, watched them sag under the weight of my tool chest, and swore I’d never half-ass it again.
After two years with my current DIY setup, here’s the truth: building your own shelves is still the best way to get exactly what your wall needs, but the process is full of whack-a-mole moments if you don’t plan for the studs being weird.
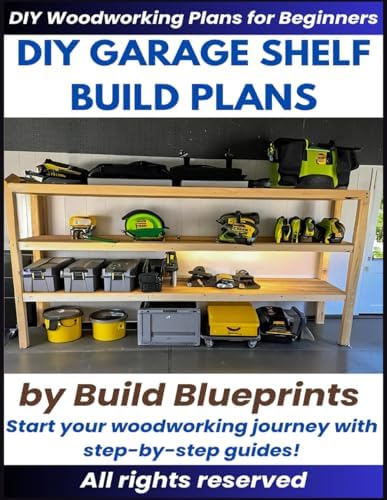
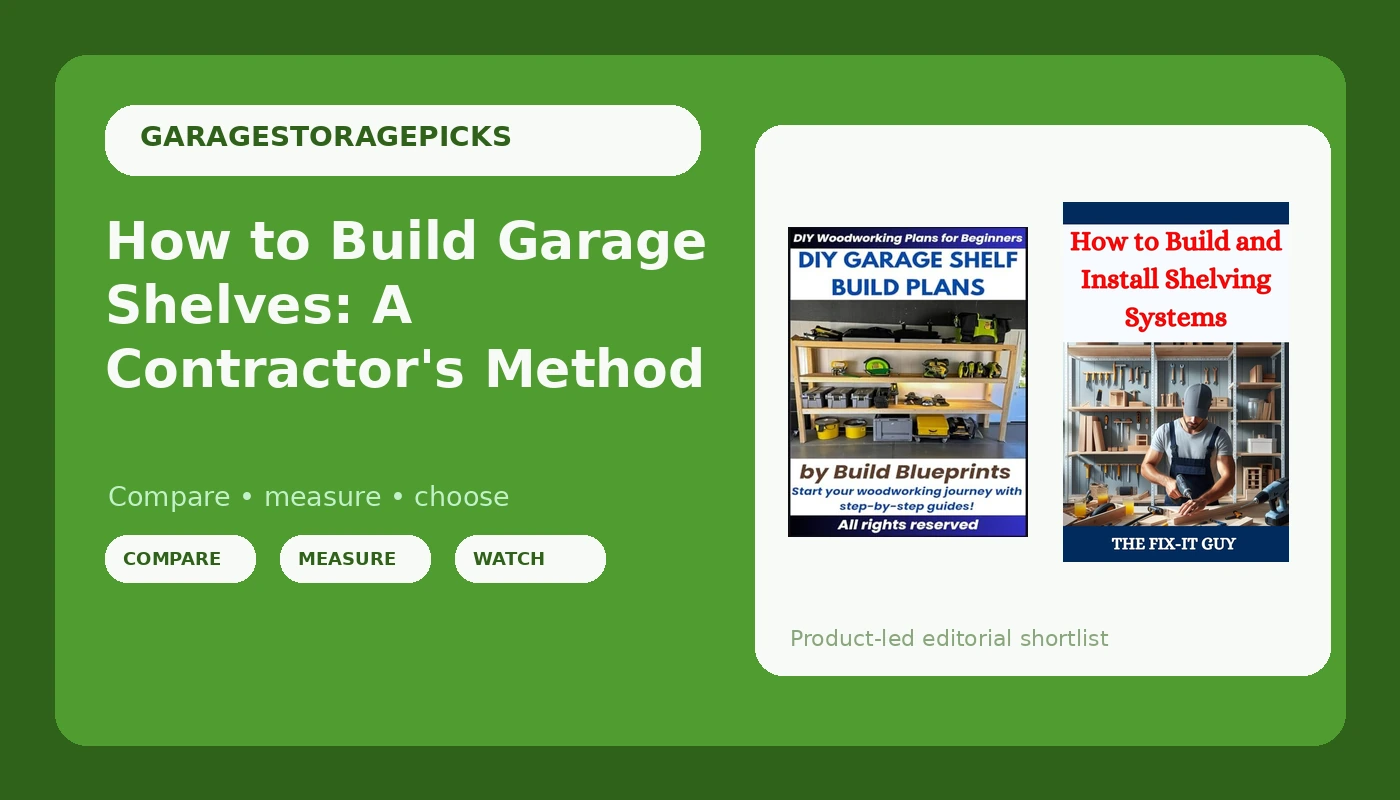
Garage Shelf Woodworking Plans – Easy DIY Project for Durable Storage Shelves
Clear cut lists and load ratings that respect real weight
Visit on Amazon →
How to Build and Install Shelving Systems: A Step-by-Step Guide to Custom She...
Does overflowing clutter leave you feeling overwhelmed and disorganized? How to Build and Install Shelving Systems empowers you to take control! This comprehensive guide unlocks the secrets to creatin
Visit on Amazon →The one tool that saves every project
Before you cut a single 2x6, you need a plan that tells you where the weight goes. I’ve mounted enough racks to know the box always overstates the rating. The bracket doesn’t lie, the box does. That’s why I start every shelf build with a backer board.
My studs are never where they should be, and sixteen-inch on-center is a suggestion, not a promise. If the holes don’t line up, mount a 3/4-inch plywood backer board first, then screw your shelf cleats into that.
It spreads the load across multiple studs and saves you the headache of a rack that sways by month three.
Garage Shelf Woodworking Plans
The criticism first: this plan set doesn’t come with a single screw. You’ll supply the mounting hardware, and if you grab whatever’s in the junk drawer, you’re in for a bad time. You need hefty screws, at least 3 inches for studs, and the plans don’t hold your hand on that.
But what this guide gets right is the load math. It tells you exactly what each shelf configuration holds based on the lumber you choose.
I built the heavy-duty version for my rolling tool chest, and it’s been rock solid for six months. The cut list is accurate, no surprises, and the diagrams show which way the beams face so you don’t discover you chose wrong after everything is assembled.
At ~$15, that's less than the cost of wasted lumber from guessing. Worth every penny if you follow it.
How to Build and Install Shelving Systems
This one is the best for first-timers, but it has a limit: it’s light on load-testing data. It tells you how to build, not always how much it’ll hold. I used the methods in here for a client’s garage, and the step-by-step on installing cleats into drywall with screw-in anchors is the best I’ve seen.
The author covers the backer board trick, which I appreciate, and the orientation details are clear. No whack-a-mole here.
The downside is the focus on lighter utility shelving, so if you’re parking a lawn mower on it, you’ll want to cross-reference with the load tables from the plans above.
For the price, it’s a solid foundation, but I won’t pretend it’s the only book you need.
How To Upgrade Your Garage
This one isn’t a build guide, so understand that going in. It’s a cheap-updates book, and it’s good at what it does. I picked it up for the layout ideas, and it delivered on paint schemes and pegboard organization that made my shop feel bigger without a single 2x6.
The reason it’s on this list is that it pairs well with a shelf build. You’ll put your weekly-use stuff at eye level, seasonal stuff up top, and this book helps you figure out the zones before you mount a single bracket.
The criticism is that it’s thin on structural engineering. If you need to know how much a shelf can hold, this isn’t your source.
But for the layout logic, it’s a bargain.
Your Guide to Garage Organization
I found this one to be a bit redundant if you already own the upgrade book. It covers similar ground on zones and decluttering, but it does have a better section on tote storage for the 27-gallon bins.
The author gets that you need to pull a tote out and open it without removing the whole rack, which is a detail most guides miss.
The trade-off is the construction advice is surface-level. It tells you to build shelves but doesn’t give you the load tables or the screw specs.
If you’re pairing it with the plans guide, you’re fine. On its own, it’s not enough for a structural build.
I use it for the layout, not the engineering.
The assembly reality check
Here’s where I tell you what the books don’t. Building shelves is a two-person job if you’re hanging cleats longer than four feet. I’m older now, not as steady as I used to be, and leveling a long cleat solo took me most of an afternoon.
The plans will tell you to use a level, but they won’t tell you to buy a backer board before you start.
Do it. My current setup has survived two moves, a flood, and my dog Axel, a 90-pound lab who thinks the lower shelf is his personal couch.
That durability came from hefty screws and a backer board, not from the included hardware.
The honest bottom line
Build your own shelves if you have a Saturday and a stud finder. The plans guide gets you the load math, the install guide gets you the technique, and the layout books get your zones right. Skip the books that promise cheap updates if you actually need weight capacity.
Choose the plans if you want rock solid. Choose the install guide if you need hand-holding. I don’t track prices day to day, so I won’t pretend to know next week’s, but at these price points, the plans guide is the one I’d buy first.
It’s the difference between a shelf that groans under your tool chest and one that outlives the garage.
Good luck with that, and find the stud before you drill.